A LoveGoBuy shoes spreadsheet should make sneaker research easier to audit, not merely collect attractive product thumbnails. Footwear creates unusually expensive mistakes because a labeled size can differ from the internal length you expect, a colorway can hide among many options, warehouse photos may omit one side of the pair, and shoe boxes can change international parcel volume. A useful sheet turns those risks into visible comparison fields before money moves.
This guide uses five current and stylistically different OutfitReps footwear pages as research examples: a buckle mid-top, a simple low-top sneaker, a canvas shoe, a running silhouette, and a chunky lifestyle shoe. The examples are not quality guarantees or purchase recommendations. Recheck each live page, option, price, availability, and seller information when you research it. Begin at the LoveGoBuy Best Links Index, keep the quick shopping guide open, and use the agent and category routes when a comparison is ready.
Build a LoveGoBuy shoes spreadsheet around decisions
Create one row for every exact product page rather than one row for an entire brand or general shoe type. Useful columns include the OutfitReps URL, review date, product title, silhouette, intended use, visible seller name, chosen color code, selected size system, expected foot length, expected insole length, seller chart, visible materials, closure, product price, domestic freight, estimated weight, box preference, agent route, QC status, and landed-cost estimate. Add a source or date beside every claim that might change.
Separate observations from assumptions. “Product page lists sizes 36–48” is an observation; “fits true to size” is an assumption unless a usable chart, seller answer, or personal result supports it. Use clear labels such as confirmed, seller-stated, measured, not shown, and unresolved. This keeps polished marketing images from receiving the same evidential weight as a warehouse measurement with both tape endpoints visible.
Give each candidate one job. A mid-top may be evaluated for statement styling, a plain low-top for daily rotation, a canvas shoe for lighter casual wear, a running silhouette for an athletic look, and a chunky lifestyle shoe for volume and shape. Compare candidates serving the same job first. A cheap running-style shoe is not automatically better value than a mid-top if it does not solve the same wardrobe need.
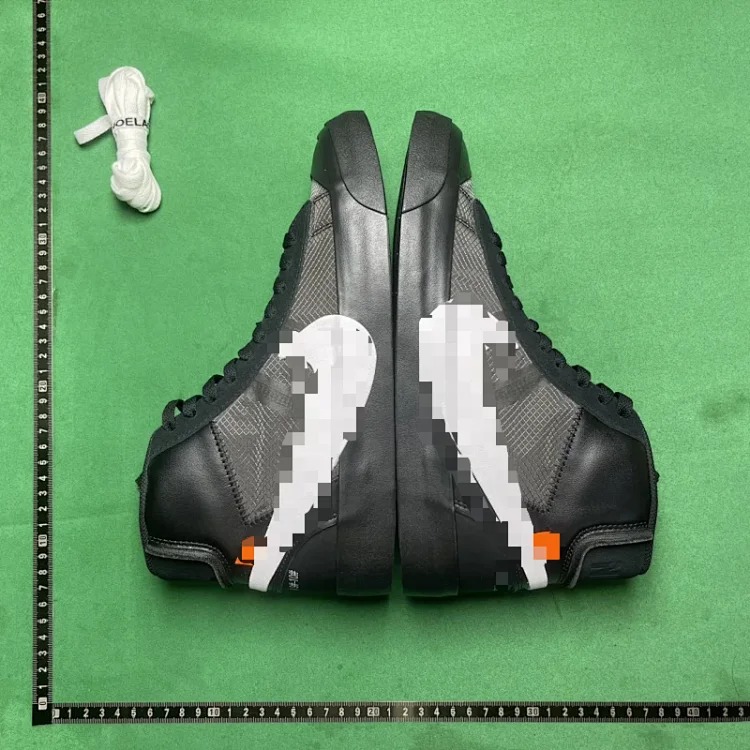 TD6 buckle mid-top sneakersStatement mid-top comparisonView product on OutfitReps →
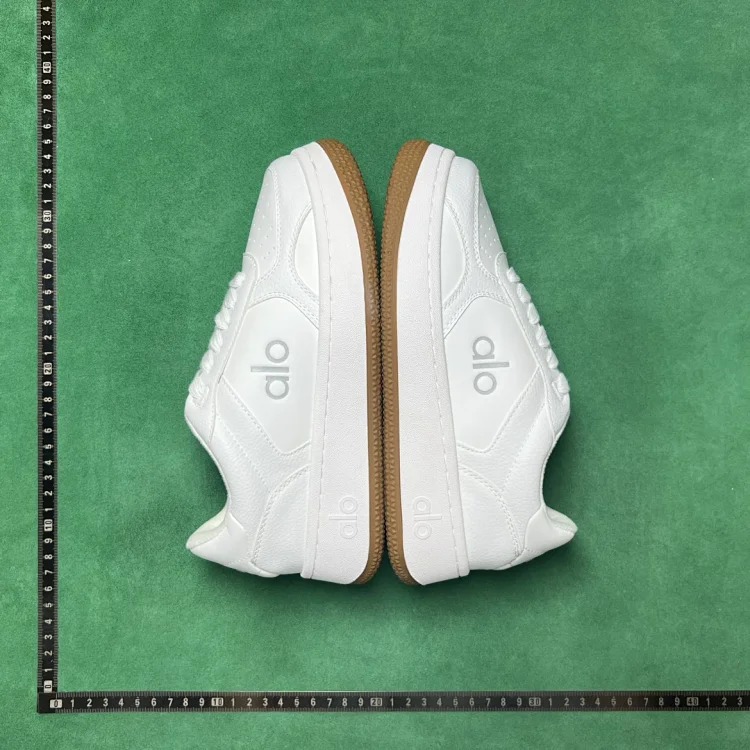 B6D simple low-top sneakersDaily low-top comparisonView product on OutfitReps →
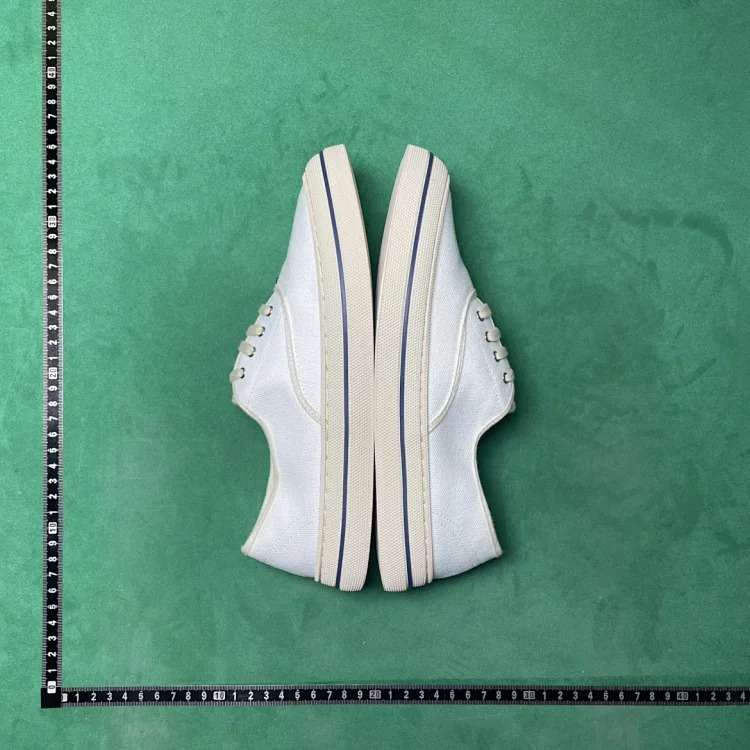 BD5 round-toe canvas shoesCanvas footwear comparisonView product on OutfitReps →
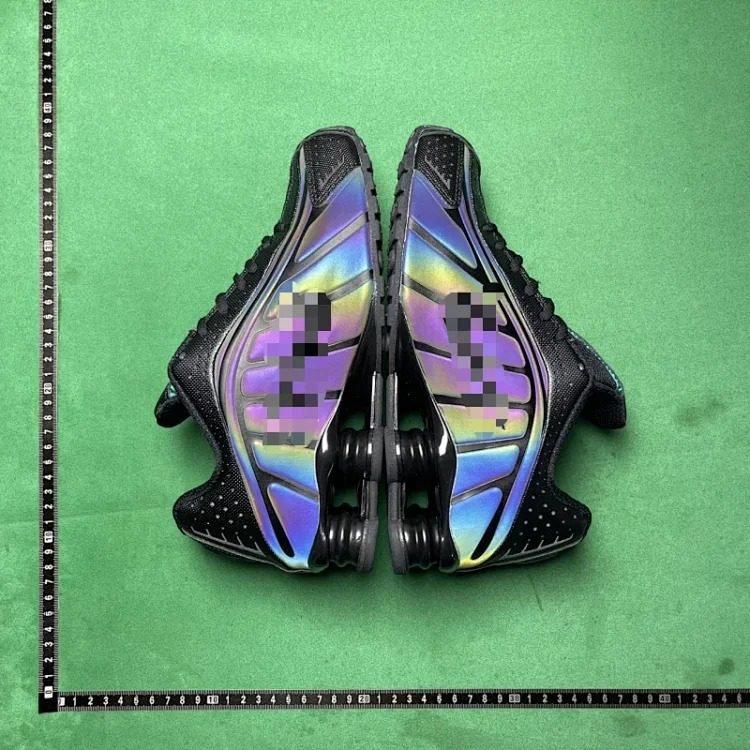 B0D breathable running shoesRunning silhouette comparisonView product on OutfitReps →
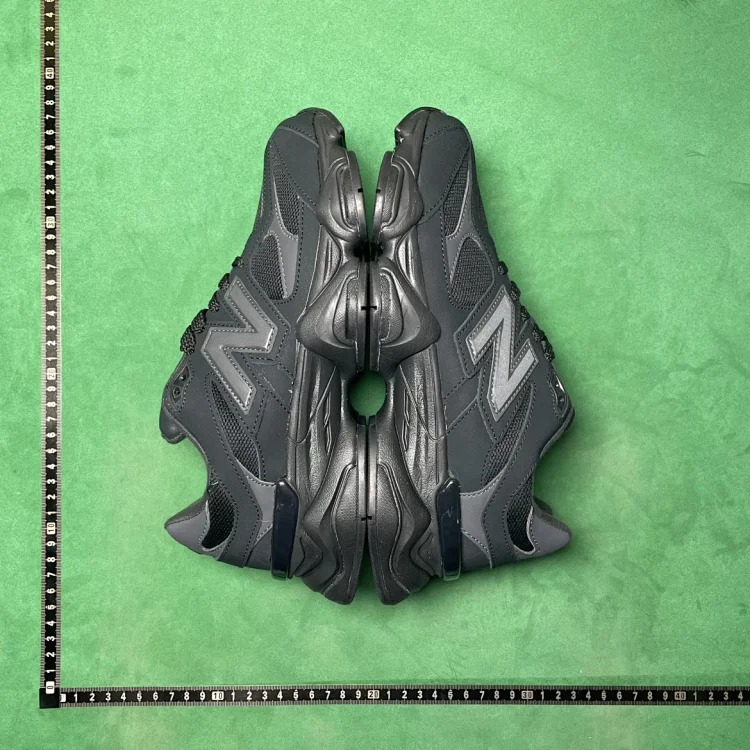 New Balance 9060 lifestyle shoesChunky lifestyle comparisonView product on OutfitReps →
Record a rejection reason whenever you archive a row. Examples include missing size coverage, unclear option naming, an unresolved seller question, unsuitable weight, duplicate wardrobe function, or a page that no longer works. These notes prevent you from rediscovering and reevaluating the same weak candidate during the next search.
Compare sneaker sizing, measurements, and seller information
Start with your foot, not the size printed on an old shoe. Measure both feet while standing, wearing the socks intended for the new pair. Record the longer foot length and useful width information. Then remove the insole from a shoe that already fits and measure its usable length and widest point. Personal reference measurements provide a better starting point than assuming that every EU, UK, US, or Chinese size label converts identically.
Copy the listing’s exact size system and color code into the sheet. Do not translate a number into another regional size unless the source provides a conversion you can evaluate. If a page gives only size labels, ask the seller through the agent for an internal or insole-length recommendation based on your measured foot. Preserve the question and answer, including date, because option details can change. Treat a seller answer as guidance rather than a physical warehouse measurement.
For the TD6 buckle mid-top, note ankle opening, buckle hardware, strap alignment, panel shape, toe profile, outsole height, and whether the closure affects entry. The wider 36–48 size range shown on the page is useful only after the size system is confirmed. For the B6D simple low-top, compare the exact color code, low-cut collar, left-right symmetry, sole shape, and listed 36–40 range. These are separate silhouettes even when both could occupy a casual rotation.
The BD5 canvas shoe calls for different notes: upper color, canvas texture as seller-stated information, eyelets, laces, rubber edge, toe shape, and the listed 35–44 options. A canvas construction may appear lighter, but do not invent a weight; wait for a warehouse reading. The B0D running silhouette should be compared on mesh appearance, layered panels, heel structure, outsole pattern, color code, and sizes 36–45. Photographs can show the visible build, not prove breathability or performance.
The New Balance 9060 page shows another option pattern, including half-size steps in parts of the listed 36–46.5 range. Record the exact model and color code rather than writing only “9060.” Examine the chunky midsole shape, heel geometry, panel balance, tongue labels, and pair symmetry. If brand markings matter to your research, identify the precise areas that warehouse photos must show without claiming authenticity from images alone.
Seller research belongs in dedicated columns: visible seller identity, product title, option list, chart availability, dispatch estimate, return or customization notice, and date reviewed. Do not turn a low price, many images, or a familiar brand name into a reliability score. Missing information should trigger a question or lower confidence, not an invented conclusion.
Write a precise sneaker QC and agent-route checklist
Prepare the QC request before the parcel reaches the warehouse. Ask for both shoes together from above, both outer sides, both inner sides, toe boxes, heels, tongues, size tags, outsoles, and removable insoles when the service permits. Request insole length with the tape flat and both endpoints visible. If width matters, specify the exact measurement location. A general request to “check quality” is too vague to support an approval decision.
Review pair symmetry first. Compare overall height, toe shape, heel alignment, panel placement, stitching paths, lace length, hardware, and sole edges. Then review the exact ordered option and size tags. Distinguish shadows, tissue, protective film, or packing pressure from visible defects. When a critical area is hidden or blurry, mark it “not shown” and request another image rather than marking it passed.
Each model needs an extra priority. For the buckle mid-top, request close views of buckles, straps, and matching hardware. For the simple low-top, compare toe profiles and sole bonding. For the canvas shoe, inspect eyelets, rubber foxing, and obvious marks. For the running silhouette, check layered panel symmetry and heel structure. For the 9060 lifestyle shoe, compare midsole geometry, heel panels, tongue labels, and left-right shape.
The agent route should appear as explicit statuses: researching, seller question, shortlisted, ordered, domestic dispatch, warehouse received, QC review, additional photos, exchange or return, approved, rehearsal, shipped, and delivered. Copy the full product URL, exact option code, color, and size into the order note. Keep private order numbers inside the agent account or private sheet, never on a public guide.
Do not move a row from QC review to approved until every priority is passed or consciously accepted. If the wrong size or color arrives, preserve the original instruction, point to the mismatch in a specific image, and act within the agent or seller deadline. Do not consolidate shoes while an exchange, return, or additional-photo request remains open.
After delivery, add real outcomes: foot comfort, internal length, width, weight, visible differences, box condition, and which QC requests were most useful. This feedback turns the spreadsheet into a personal sizing system. It also reveals whether a seller answer, chart, warehouse measurement, or prior fit reference was the most dependable signal.
Estimate shipping, box choices, and final sneaker value
Compare landed cost instead of product price. Include product cost, domestic shipping, agent charges, estimated international freight, packaging, insurance where relevant, and a contingency. Footwear can be dense, and a retail box may increase volumetric weight. Ask for actual warehouse weight and dimensions when available, then replace the estimate rather than leaving an old guess in the row.
Choose box handling deliberately. Keeping a box may preserve presentation and add protection, but it may also increase parcel volume. Removing it can reduce space, yet the shoes still need suitable protection against crushing or moisture. Record whether the box is essential, optional, or unwanted before rehearsal. If the agent offers reinforcement, corner protection, moisture barriers, or shoe trees, compare their purpose and added weight rather than selecting every option automatically.
Route conditions change. Review current restrictions, parcel limits, declared-value requirements, insurance terms, prohibited-item rules, estimated transit windows, and tracking coverage inside the chosen agent workflow. Do not copy a route recommendation from an old parcel without checking it again. Shipping information in the spreadsheet should always carry a review date.
Use two final gates. Before ordering, confirm the exact OutfitReps page, intended use, selected option, sizing evidence, seller questions, QC plan, agent route, and preliminary landed cost. Before shipping, confirm that warehouse photos match the order, measurements are usable, after-sales issues are closed, only approved items enter the parcel, actual weight is recorded, packaging is intentional, and the route still suits the destination.
A reliable LoveGoBuy shoes spreadsheet does not promise that one sneaker is universally best. It exposes what is known, what is seller-stated, what has been measured, and what remains unresolved. The winning candidate is the one that fits the intended role, has a defensible size choice, produces clear QC evidence, moves cleanly through the agent route, and remains sensible after international shipping.
For the next step, read the LoveGoBuy QC checklist, browse every LoveGoBuy guide, or return to the research routes below.