A LoveGoBuy QC guide should help you make a shipping decision from observable evidence. Warehouse photos are not a guarantee of hidden construction or long-term durability, but they can confirm whether the received product appears to match the ordered option, whether obvious defects are visible, and whether key measurements support the intended fit. The best checklist is prepared before the parcel arrives. It identifies what matters for each category, which angles are required, and which differences would justify a question, exchange, or return.
Keep the source page, selected option, requested size, and seller details beside the QC record. Compare warehouse evidence with the exact OutfitReps product page rather than a memory or an unrelated reference image. Begin from the LoveGoBuy Best Links Index, use the category routes, and keep the quick shopping guide available. The five examples below cover different constructions so the checklist remains practical rather than generic.
Prepare the LoveGoBuy QC record before warehouse arrival
Create fields for the concrete product URL, item title, seller, exact variant, requested size, source images, expected measurements, priority details, order status, and response deadline. Separate facts from questions. Facts include the option copied from the order and measurements printed on a chart. Questions include unclear material, missing accessories, or whether two pieces are included. When the warehouse update arrives, add the receipt date and image set without overwriting the original expectations.
Define four outcomes: accept, ask for more evidence, exchange, or return. Accept only when the visible product and measurements satisfy the prewritten priorities. Ask for evidence when an important area is hidden or a measurement is missing. Exchange when the correct product is available but the received option, size, or visible condition is wrong. Return when the mismatch cannot be resolved or the remaining uncertainty is larger than your tolerance. Check the agent policy and deadlines because warehouse storage and after-sales windows can be limited.
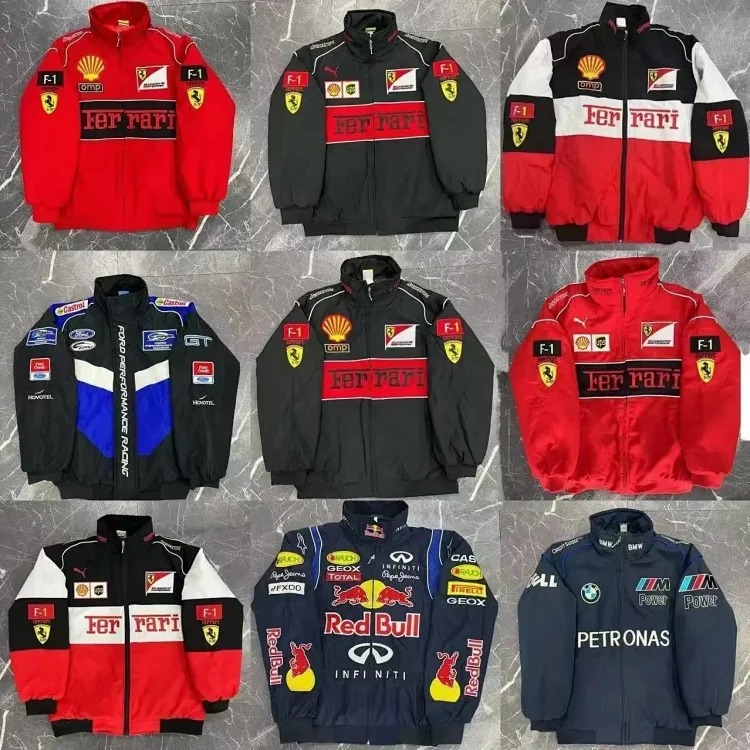 Fashion cotton coat for couplesJacket QCView product on OutfitReps →
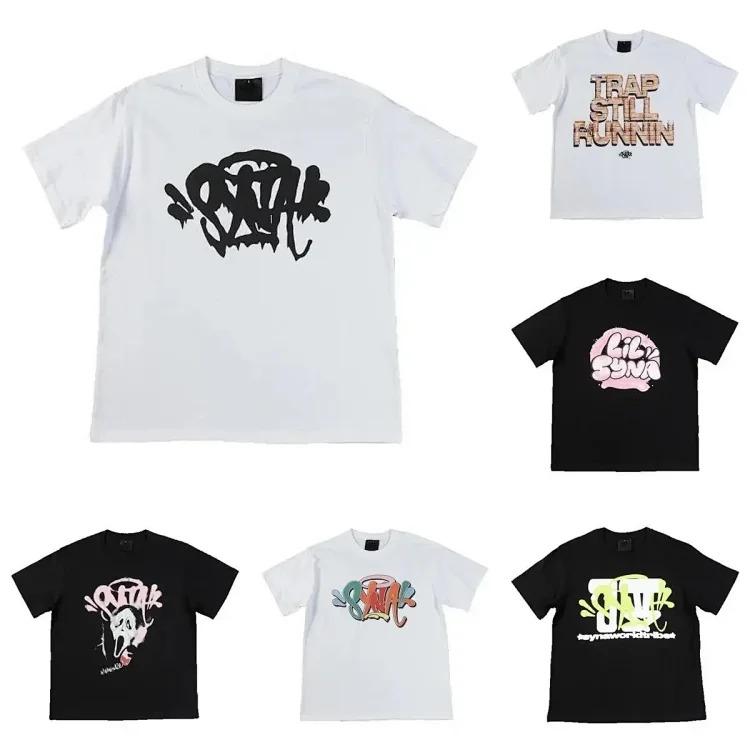 American hip hop short sleevesT-shirt QCView product on OutfitReps →
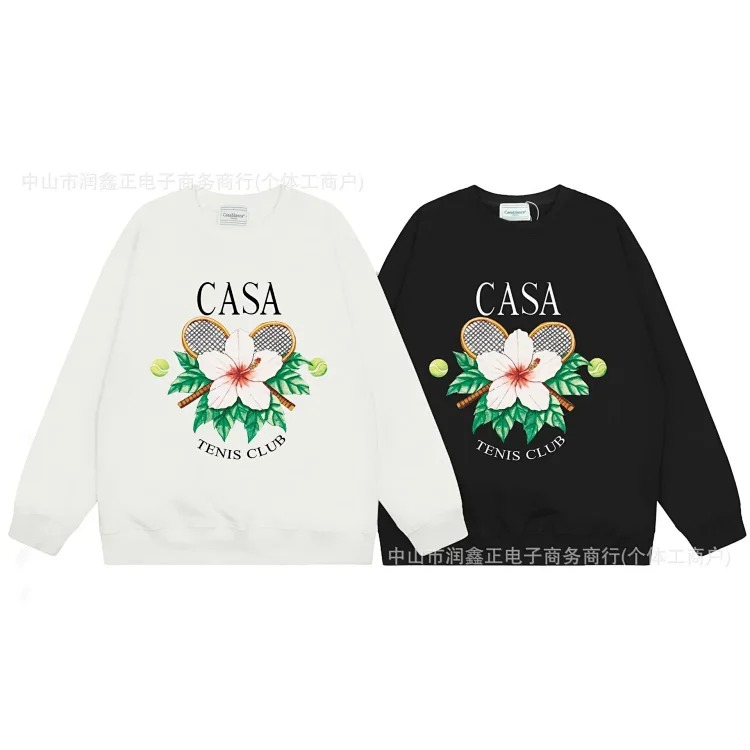 Printed cotton loose sweatshirtSweatshirt QCView product on OutfitReps →
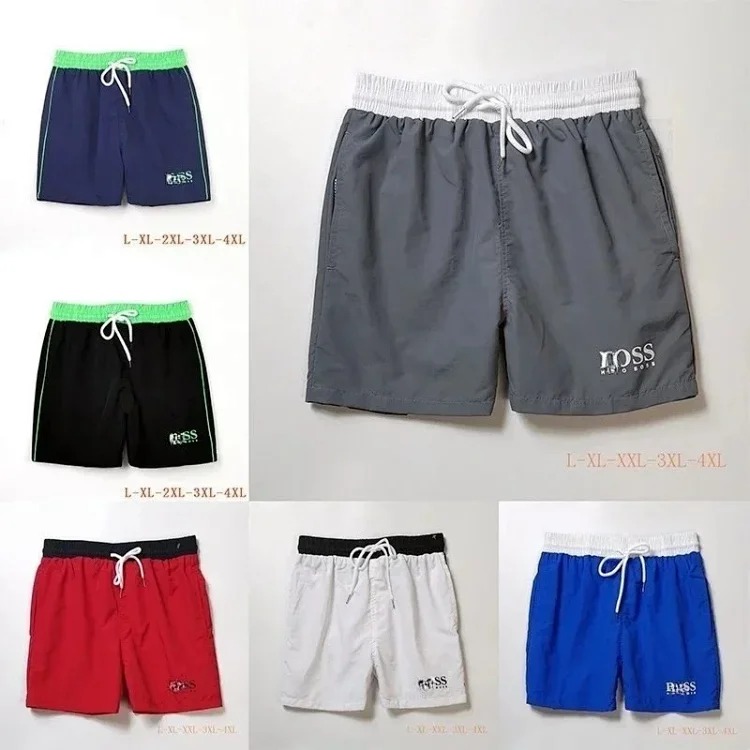 Summer fitness running shortsShorts QCView product on OutfitReps →
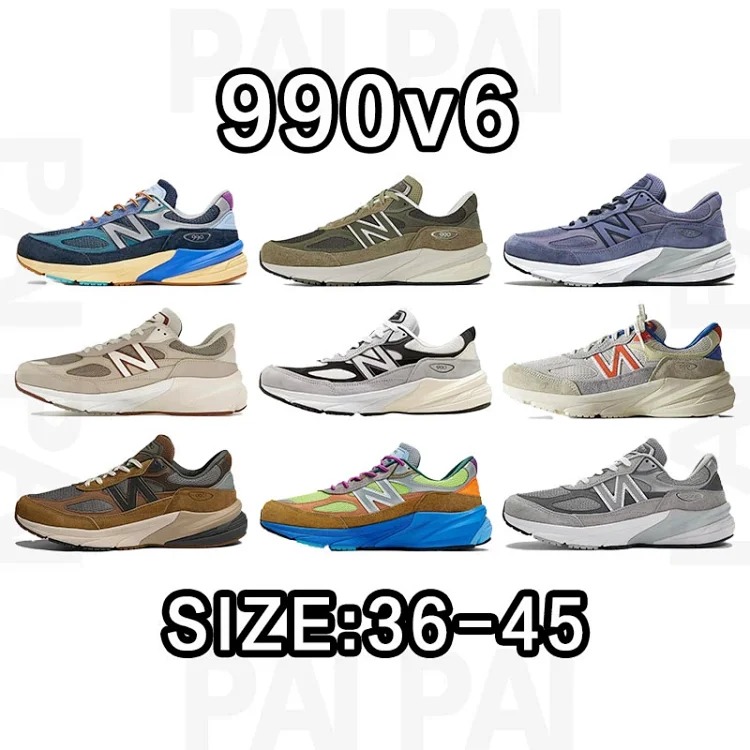 New Balance NB 990v6Sneaker QCView product on OutfitReps →
Save one source image for the front, back, and any priority detail where possible. The purpose is not to demand studio-quality warehouse photography. It is to create a direct comparison for color blocks, graphic position, garment shape, closures, pockets, sole profile, or included pieces. Write concise instructions that a warehouse worker can perform: show the back, photograph the size tag, measure the chest flat, or remove the insole and show its length.
Check garments for option accuracy, measurements, and visible construction
For the cotton coat, start with option accuracy. Confirm color, size tag, closure style, pocket arrangement, and whether the received silhouette resembles the selected page. Request front, back, both sides, collar, cuffs, hem, zipper or buttons, and interior label views. Look for marks, holes, obvious seam failures, asymmetric pockets, damaged hardware, or a major color-panel mismatch. Small wrinkles from domestic packing are not the same as structural damage, so distinguish temporary presentation from a real defect.
Measure shoulder width, chest width, back length, and sleeve length using the same method as the size chart or your reference garment. A measurement is useful only when the start and end points are visible. If the tape bends, begins away from the seam, or is hidden by fabric, ask for another image. Compare differences against your own fit tolerance rather than assuming every chart value is exact. Record the final warehouse numbers for future sizing research.
For the short-sleeved shirt, inspect collar shape, shoulder seams, sleeve openings, body hem, graphic placement, and the exact color. Ask for chest, length, and shoulder measurements if the fit is important. A print should be reviewed at full-image scale and in a close view: the full view shows position and proportion, while the close view shows obvious cracking, smudging, or missing areas. Lighting can shift color, so compare several photos before treating a slight tone difference as an option error.
The sweatshirt needs similar sizing checks plus attention to ribbed cuffs, waistband, neckline or hood construction, pockets, drawstrings, and interior finish. Confirm that the print belongs to the ordered variant. If the item is described as pure cotton, do not attempt to prove fiber composition from a warehouse photograph; record the description as seller information and limit QC to what can actually be seen. An additional weight reading may help parcel planning but does not establish material quality by itself.
For the running shorts, verify the printed design, waistband, drawstring, pockets, inner lining if listed, hem, and all included parts. Request waist measured flat in a clearly stated relaxed or stretched condition, plus total length, rise, thigh, and leg opening when those numbers determine fit. Because shorts are lightweight, make sure the product is not confused with another similar option during consolidation. A clear size tag and full front-and-back view reduce that risk.
Review sneaker evidence and convert problems into agent instructions
For the NB 990v6 sneaker, begin with the size label and ordered colorway. Request both shoes together, outer and inner sides, toe boxes, heels, outsoles, tongues, size tags, and insoles. Compare panel shapes, color blocking, sole profile, and major alignment from left to right. The goal is to identify an obvious wrong model, wrong size, mismatched pair, visible damage, or construction issue that can be seen in the available images.
Insole length is usually more useful for sizing than a familiar label alone. Ask for a straight tape measurement from heel to toe if the agent supports it, and compare it with footwear you own. Also note whether the shoe box is required. Keeping a box may offer protection, while removing it may reduce volumetric shipping weight. Decide before parcel submission and record the instruction rather than leaving packaging removal to chance.
When evidence is unclear, ask one focused question at a time. “Please provide a straight chest measurement with both tape endpoints visible” is actionable. “Can you check if it is good?” is not. When reporting a mismatch, reference the ordered option and the specific warehouse evidence. For example, state that the size tag differs from the order or that the rear view shows a missing component. Precise wording helps the agent communicate with the seller and creates a useful record if an after-sales decision is disputed.
Do not reject a product solely because warehouse lighting is different from the source page. Look for consistent evidence across multiple angles, neutral backgrounds, or requested close-ups. Conversely, do not accept a product because one flattering image looks correct when important areas remain hidden. The checklist exists to balance those risks. Mark every priority as passed, failed, or not shown, then address every “not shown” item before shipping.
Keep seller details separate from warehouse observations. The listing may provide a title, option, description, and chart; the warehouse provides images, labels, measurements, and weight. If those sources conflict, record both and ask for clarification. Do not silently rewrite the expected value to match what arrived. Maintaining the original order record is essential for a clear exchange or return request.
Approve the parcel only after fit, route, and shipping checks agree
The agent route should show product discovery, exact OutfitReps detail page, agent order, seller dispatch, domestic receipt, QC review, after-sales decision, parcel rehearsal, and international shipping. An item is not ready merely because it reached the warehouse. Its option, sizing evidence, and visible priorities must be reviewed, and any exchange must be completed before consolidation. Keep the deadline visible so a request is not delayed while other items arrive.
After individual approval, check the combined parcel. Confirm every intended item is selected and every unresolved item is excluded. Review actual weight, estimated volumetric weight, packaging choices, available route restrictions, insurance options, and declared-value requirements shown by the agent. Heavy outerwear and boxed sneakers can change the shipping estimate substantially. Rehearsal packaging can provide better numbers before the final route is chosen.
Calculate landed cost using product price, domestic freight, agent charges, international shipping, and a reasonable contingency. If the cost changes the value judgment, pause before dispatch. Warehouse storage gives you a limited opportunity to reconsider; after international shipping, correction becomes far harder. The purpose of QC is not only spotting defects but also confirming that the full transaction still fits the plan.
Use a final release checklist: exact items selected, options verified, measurements accepted, requested images received, visible defects addressed, after-sales cases closed, packaging instructions recorded, parcel weight reviewed, shipping route selected, and delivery details confirmed in the agent account. Save the decision date and the person or account that approved it. This creates a clean boundary between warehouse review and shipping.
After delivery, compare actual fit and condition with the QC evidence. Note which measurements predicted fit well, which photo requests exposed useful details, and which risks remained invisible. Add that feedback to the private research board. Over time, the LoveGoBuy QC guide becomes a repeatable method shaped by real outcomes rather than a one-time list of generic warnings.
Continue with the LoveGoBuy spreadsheet workflow, visit the complete guide archive, or use the internal routes below for further product research.