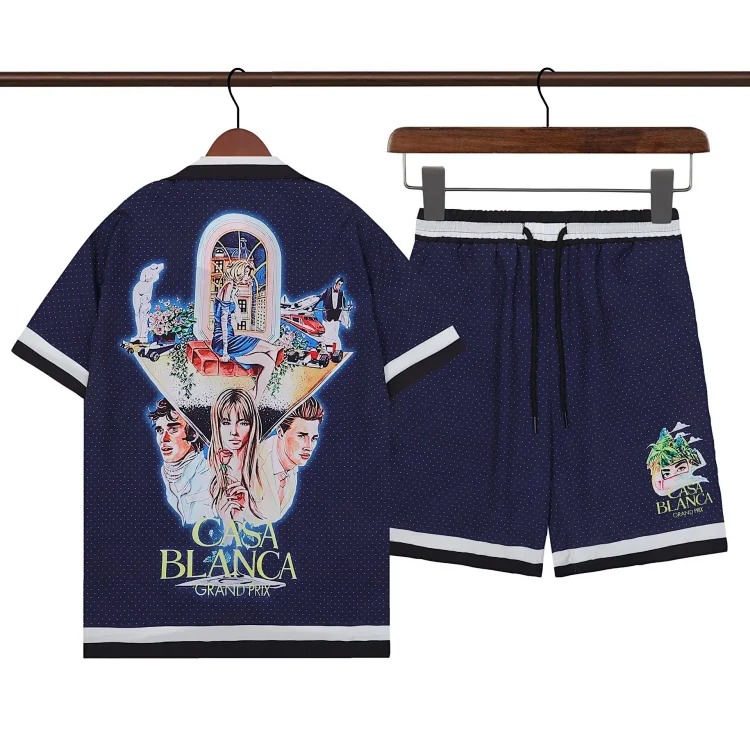
 Retro short-sleeve setTwo-piece order example →
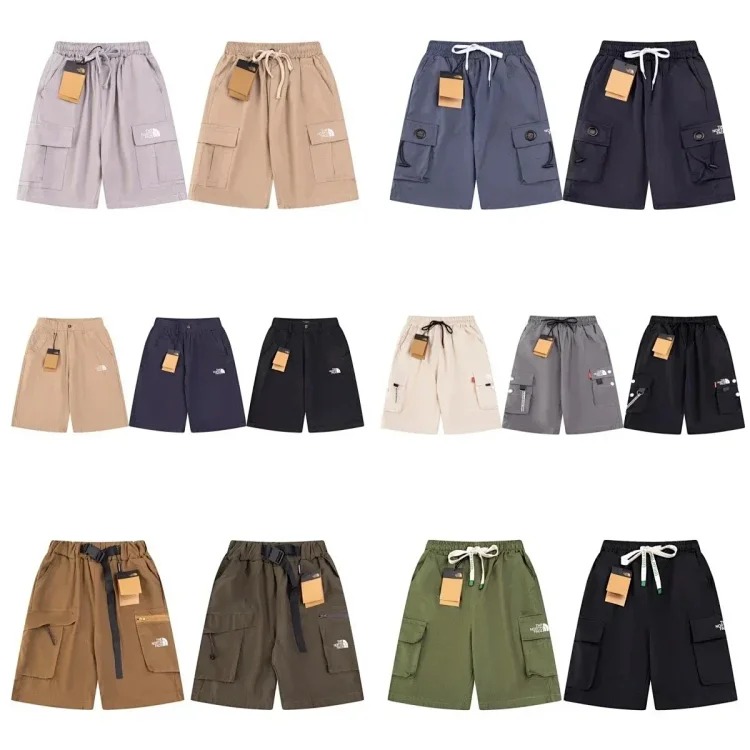 Versatile casual shortsMeasurement example →
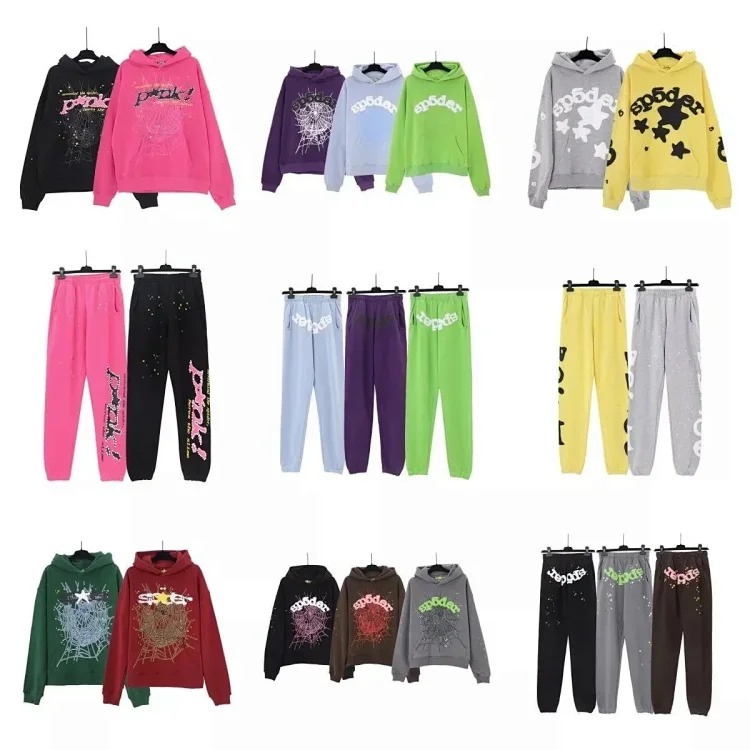 Hoodie and trouser suitVariant and weight example →
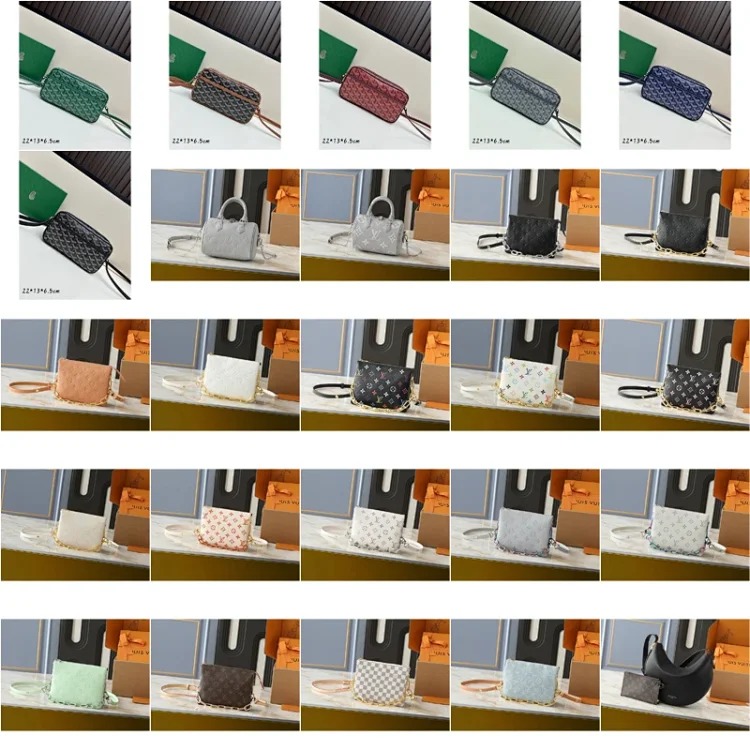 Shoulder bagHardware and capacity example →
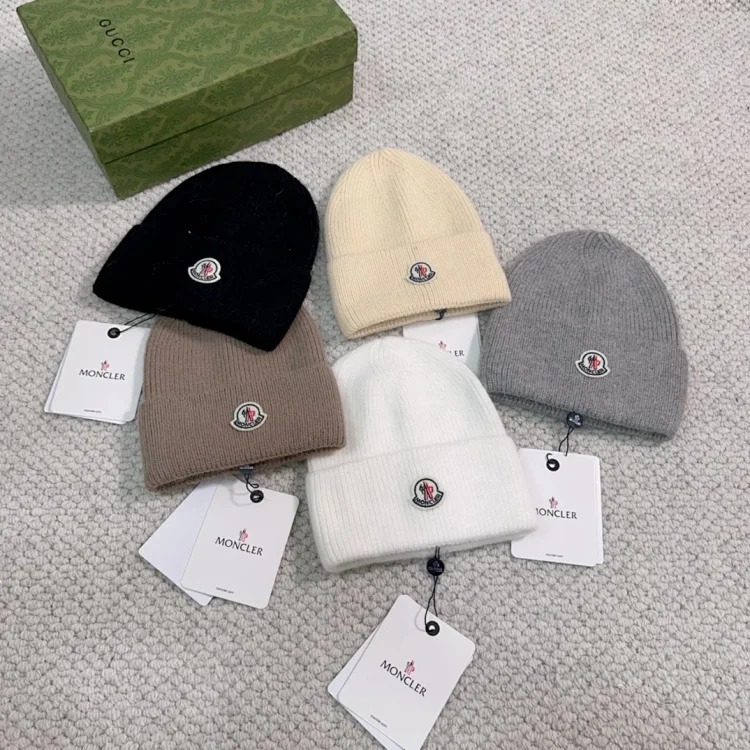 Fine-knit hatFit and fabric example →
Turn a product find into a research record
A beginner should resist the urge to send the first attractive link directly to a shopping agent. Begin by opening the complete OutfitReps product page and recording the direct URL, title, category, displayed price, available size and color options, seller information, stated material, image count, and any package contents. This creates a stable research record. A screenshot alone can lose context, while a copied title can describe several variants. Keep the link and your notes together.
Write one sentence describing what the item must do. The retro short-sleeve set should provide two coordinated pieces in the correct color and size. The shorts should fit a known waist, rise, and length preference. The hoodie-and-trouser suit should include both garments and work for the intended season. The shoulder bag should carry a defined group of daily objects. The fine-knit hat should fit the intended head circumference without uncomfortable pressure. These five product styles require different questions.
Compare listing photos for internal consistency. Check whether the front, back, detail, and model images show the same design, color, trim, and included pieces. If a photo appears to belong to another variant, mark the point as unknown. Do not convert a guess into an order note. Ask the agent to confirm the seller's exact option before purchase. Clear questions such as “Does this selection include both the shirt and shorts?” are easier to answer than “Is everything correct?”
Create a measurement reference before choosing a size. Lay a similar item that already fits on a flat surface and measure it using the seller's likely method. For tops, record shoulder, chest, body length, and sleeve. For shorts and trousers, record relaxed waist, rise, inseam, outseam, thigh, and leg opening. For bags, measure the phone, wallet, and other contents. For hats, measure around the head at the intended wearing position. Body weight alone is not a reliable sizing system.
Write precise seller and agent order notes
An order note should identify the product, not tell the agent to “buy the same as the picture.” Include the exact size, color, model, quantity, and required set contents. When options use unfamiliar text or images, quote the option exactly and attach the product URL. Separate requirements from preferences. “Must include both pieces” is a requirement; “please choose the cleanest package” is a preference. This helps the agent know which mismatch would justify contacting the seller.
Save seller details with the order: seller identifier, listing URL, date, quoted option, any answer received, domestic return conditions, and promised dispatch time when available. Seller information is not proof of quality, but it provides a record when the listing changes. If the seller allows random colors, substitutions, or unconfirmed sizing, decide whether that uncertainty is acceptable before payment. A low price does not remove the cost of a wrong product.
For the short-sleeve set, specify whether the selected option includes the shirt, shorts, or both. List the requested size for each piece if the seller permits separate choices. For the casual shorts, include color, size, and a note asking the warehouse to measure the relaxed waist and outseam. For the hoodie suit, confirm that both top and trousers are included, then note the chosen size and color. Multi-piece listings are especially easy to misunderstand.
For the shoulder bag, record the desired color, strap type, hardware finish, package contents, and whether a box or dust bag is expected. Do not assume that decorative packaging is included because it appears in a photo. For the knit hat, record the color and any size option, then ask for an internal circumference or unstretched width measurement. Fabric stretch can help fit, but an unspecified “one size” still needs evidence.
Follow the agent route as a sequence: link submitted, order paid, seller purchased, domestic tracking received, warehouse arrival, QC review, return deadline, parcel planning, international dispatch, and delivery. Keep the same short product label at every stage. When several items arrive, match warehouse photos to the order number and variant before judging quality. This prevents an attractive photo from being approved for the wrong order.
Review warehouse QC, sizing, and product identity
QC photos should answer the questions you wrote before ordering. Ask for neutral overview images plus close-ups of identity, construction, and risk points. For the two-piece short-sleeve set, request both items together, front and back views of each, labels, collar, print, seams, waistband, pockets, and hems. Request separate chest, top length, relaxed waist, and shorts length measurements. Check that the two pieces match in shade and styling.
For shorts, review waistband symmetry, drawstring path, rise, pockets, side seams, print or embroidery placement, inseam, and hems. A ruler photo must show the full measurement path. For the hoodie-and-trouser suit, confirm both pieces, then inspect hood shape, ribbing, pocket placement, graphic alignment, cuffs, waistband, trouser length, and color consistency. Ask the warehouse for packed or garment weight if international freight matters.
The shoulder bag requires front, back, sides, base, interior, strap, closure, attachments, and hardware photos. Look for a centered shape, straight seams, matching hardware color, clean edges, and an undamaged zipper track. Add width, height, depth, and strap-range measurements. A wide-angle image can exaggerate size, so capacity should be checked against numbers and the objects the buyer intends to carry.
For the fine-knit hat, request front, rear, side, top, interior, label, seam, and close knit-detail photos. Check for pulled loops, stains, uneven ribbing, loose threads, or obvious shape distortion. Ask for the opening width laid flat without stretching and the total height. If the material includes delicate fibers, note that warehouse lighting cannot prove softness; QC can confirm visible condition and dimensions, not every tactile claim.
Classify results as approve, ask for more evidence, return, or accept with a noted minor issue. Wrong variant, missing piece, serious damage, broken hardware, and major measurement differences are objective problems. Slight color variation under warehouse lighting may require an additional photo. Make decisions before the domestic return deadline. Delaying the review can turn a correctable problem into an international shipment.
Plan shipping and close the feedback loop
Estimate landed cost using item price, domestic shipping, service charges, optional QC, return risk, packaging, chargeable weight, international freight, insurance, and possible taxes. The short-sleeve set and shorts may compress easily. The hoodie suit is heavier and bulkier. The bag may need internal filling or rigid protection. The knit hat is light but should not be crushed if its shape matters. A single freight estimate cannot represent all five.
Ask the agent which international routes accept the products and what packaging changes are sensible. Removing decorative packaging can save volume, but it may remove protection or expected contents. Vacuum compression may suit soft clothing but can crease graphics or delicate knits. Bag hardware should be wrapped, and the body may need stuffing. Request rehearsal packing when parcel dimensions or volumetric weight could change the decision.
Keep a final parcel sheet with every product name, order number, approved variant, quantity, warehouse weight, packaging request, declared description, selected route, tracking number, and total cost. This makes it easier to identify missing items before dispatch and to understand the result later. It also prevents the agent workflow from becoming a series of disconnected chat messages.
After delivery, compare the real product with the listing, order note, warehouse measurements, and QC decision. Record actual fit, construction, packaging condition, and total landed cost. Note which questions were useful and which were missing. This feedback turns a first order into a better process for the next product find. The purpose of a LoveGoBuy beginner guide is not to eliminate all uncertainty; it is to replace avoidable guessing with repeatable evidence.
Keep the first order deliberately small. One or two well-documented products teach more than a large mixed parcel that is difficult to audit. Review the timeline from seller purchase to warehouse arrival, note every fee, and compare estimated shipping with the final chargeable weight. If a question caused delay, rewrite it for the next order. If one measurement prevented a bad size choice, add it permanently to the checklist. A beginner workflow becomes dependable when each completed order improves the record used for the next one.
Continue from the LoveGoBuy Best Links home, browse the complete guide archive, compare options in the product categories, and review the quick shopping guide. For a deeper start-to-finish process, read the related LoveGoBuy Agent Route Guide. Reopen each OutfitReps product page before ordering because availability, variants, and seller details can change.